Editing A Leave Request
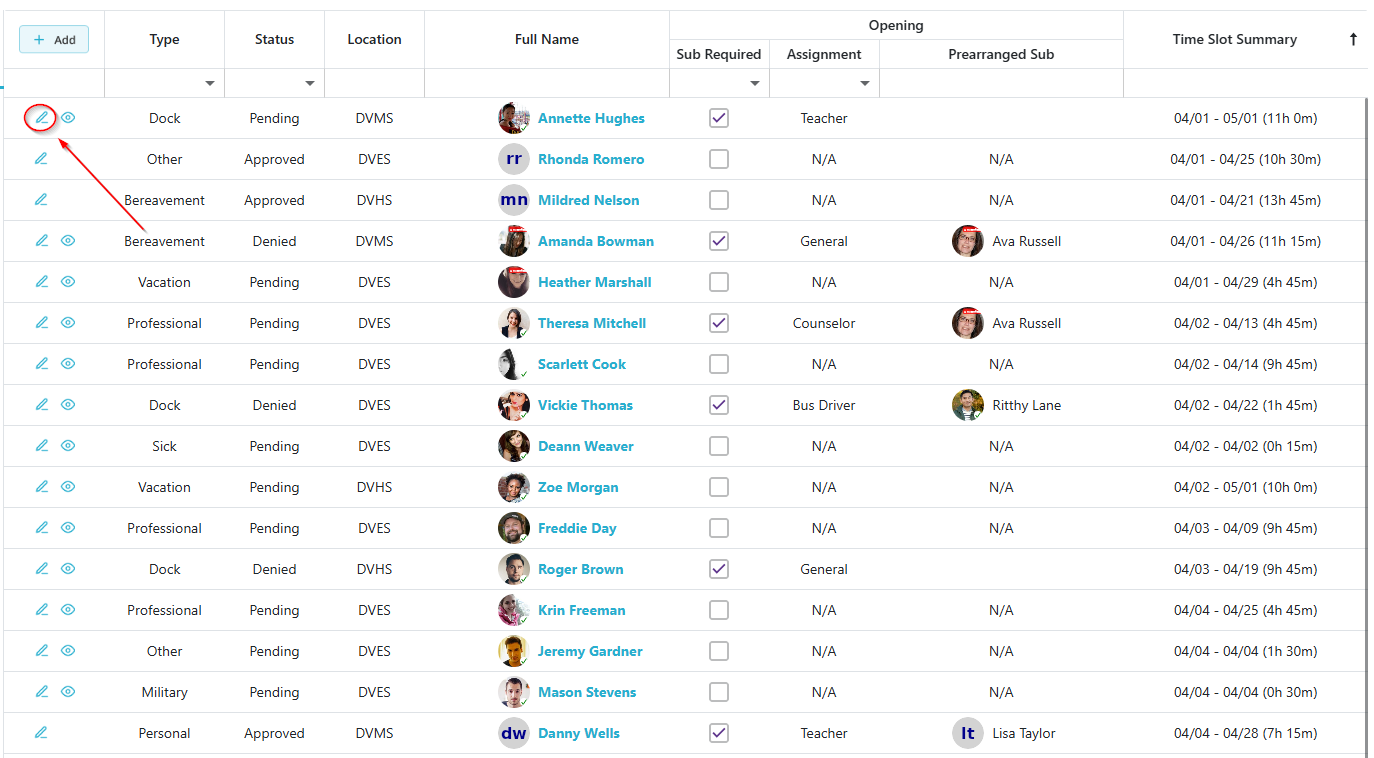
Click the  to access the Edit Leave Request page.
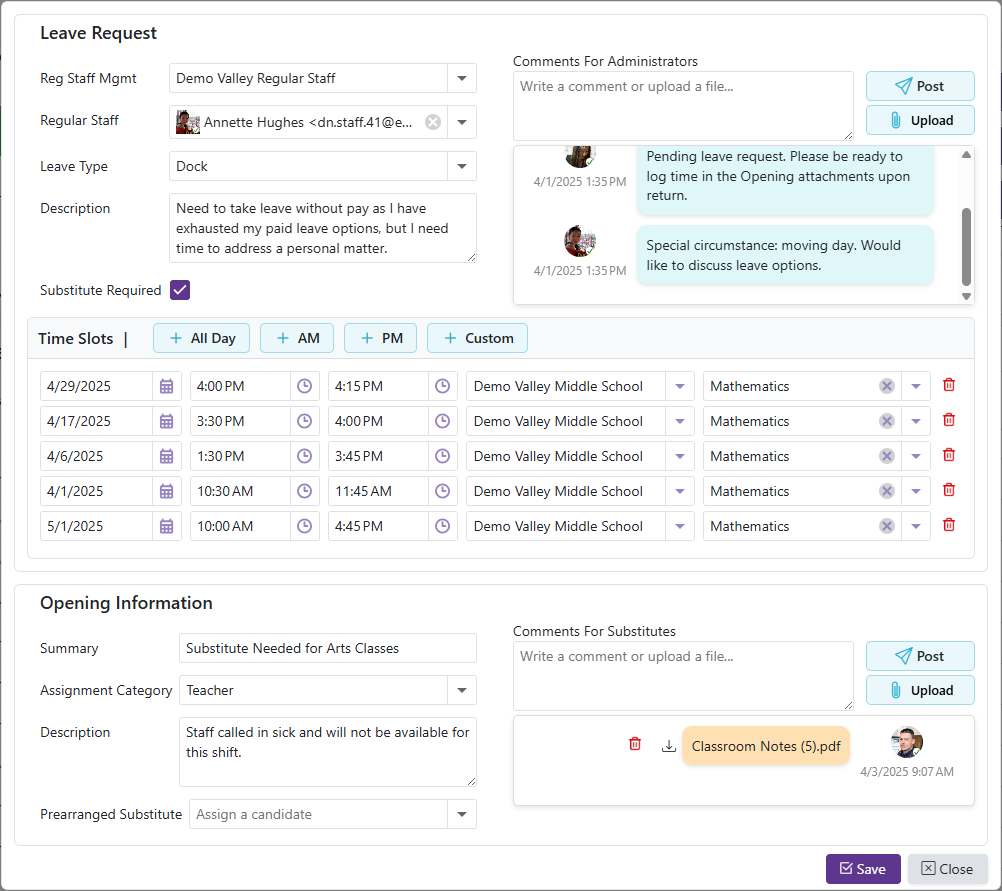
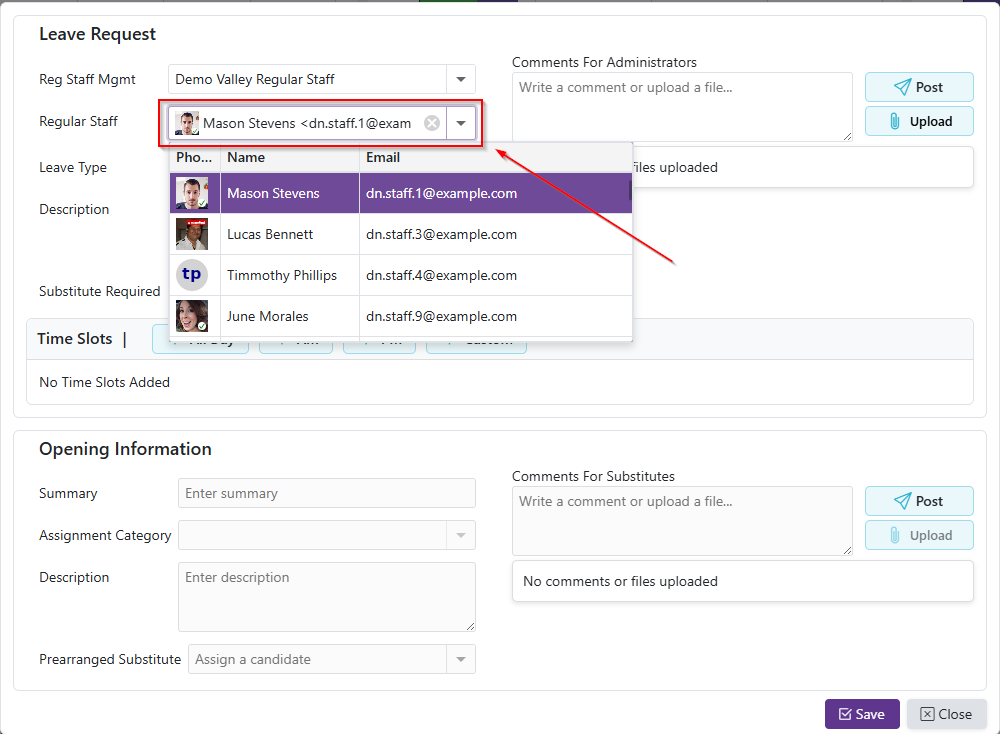
The Regular Staff User can be changed by selecting the new user that is requesting leave from the dropdown menu
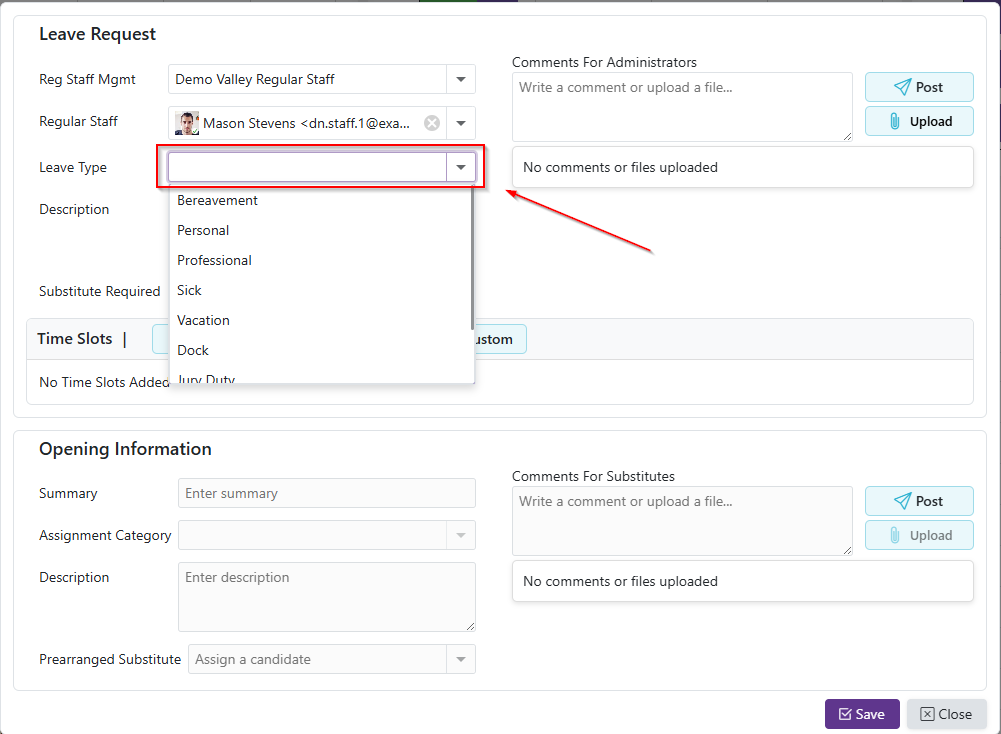
The Leave Type can be changed by clicking the Leave Type dropdown and choosing the appropriate leave type
Click the Leave Type dropdown and choose the appropriate leave type.
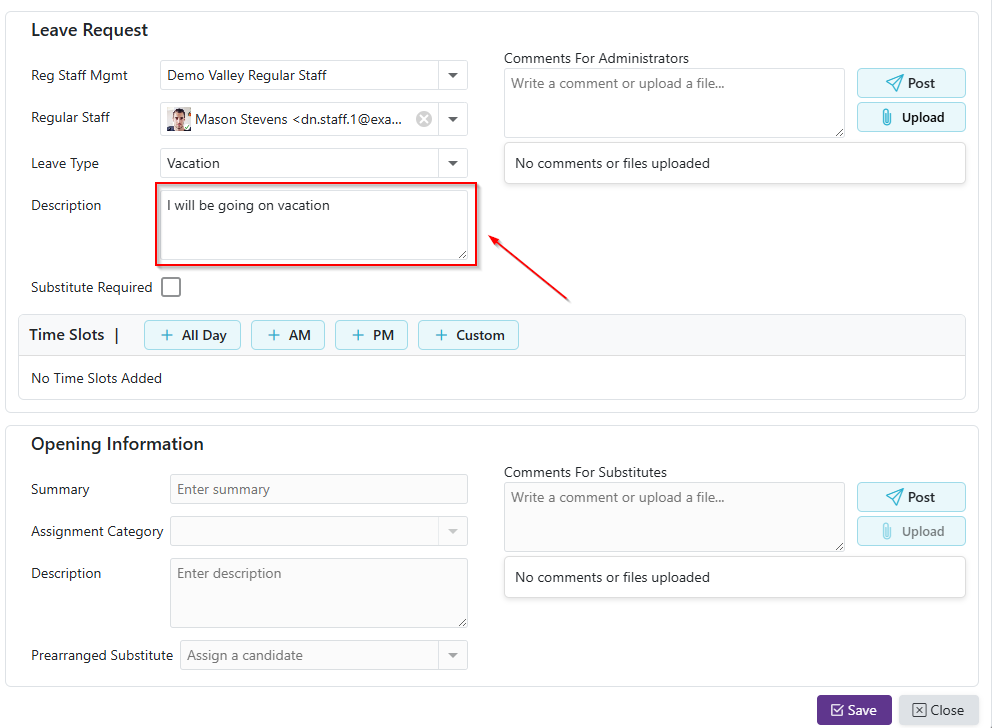
The Description field can be changed by clicking in the Description field and editing the text
Go to the Details tab, click in the Description field, and provide details about the leave request.
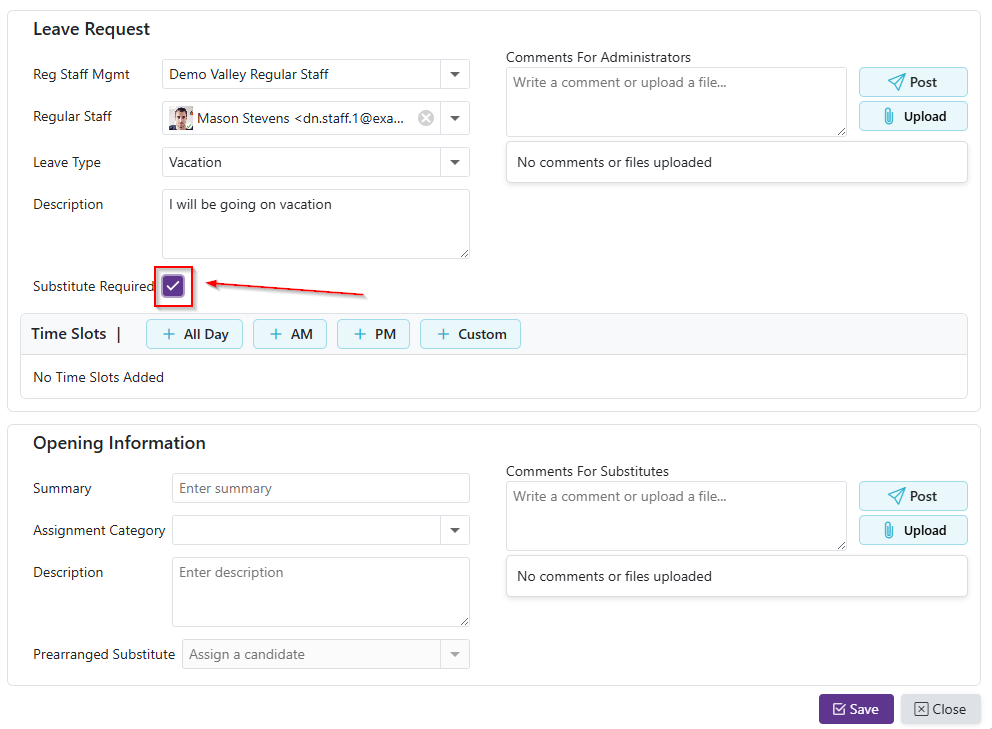
Update whether a Substitute is required by toggling the corresponding checkbox
- Checking this box will make the Opening Information required.
Time Slots can be modified:
a. Click one of the buttons: ‘All Day’, 'AM', 'PM', or 'Custom'
- All day: adds a time slot with the From Time set to the Start Time set in the location's preference and the To Time set to the End Time in the location preference
- AM: adds a time slot with the From Time set to the Start Time set in the location's preference and the To Time set to noon
- PM: adds a time slot with the From Time set to noon and the To Time set to the End Time in the location preference
- Custom: adds a time slot with blank times

b. Enter the Date, From Time, To Time, Location, and Department (if available).

c. Repeat steps a-b to add multiple time slots
d. To delete any unwanted time slots, click the  icon.
icon.

Comments and Attachments can be added or modified on the Leave Request (Optional)
Comments:
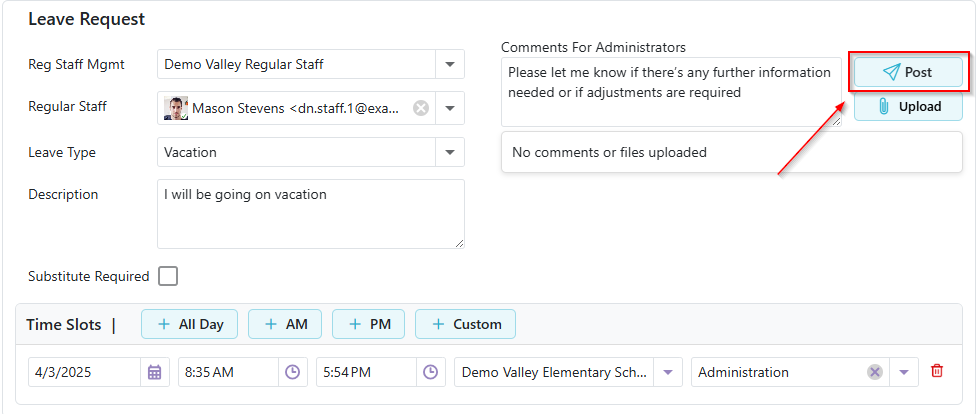
a. Type your comment in the input field.
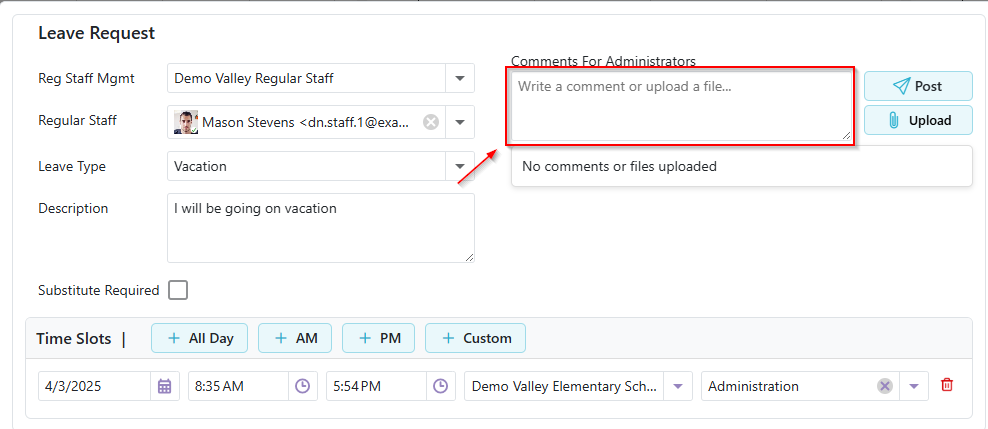
b. Click  button to submit the comment.
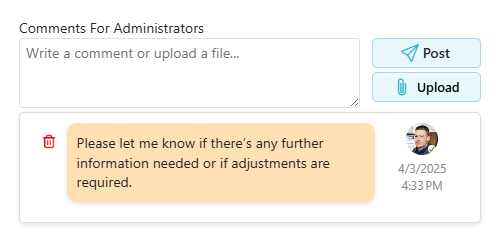
c. Repeat this process for adding multiple comments
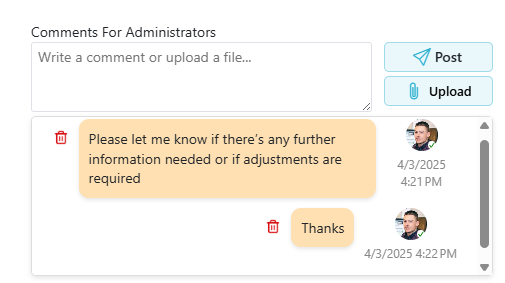
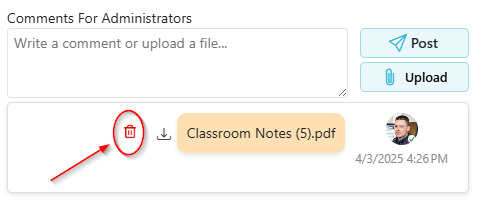
d. To remove a comment, click the icon on the corresponding comment. Users can only remove their own comments
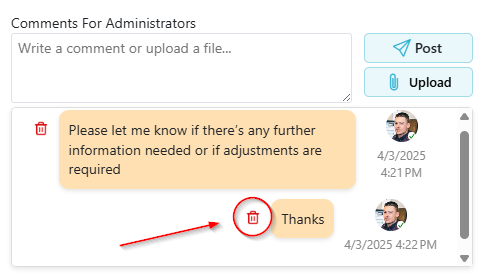
Attachments:
a. Attachments can be uploaded by dragging and dropping the file into the input field
b. File can also be uploaded by clicking the  button which opens up the file explorer
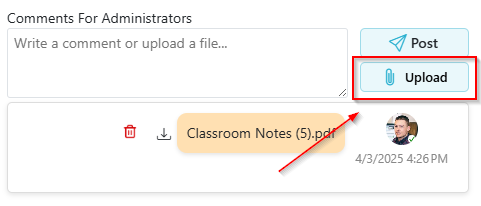
c. Repeat this process for adding multiple attachments
d. To download an attachment, click the  icon on the corresponding attachment.
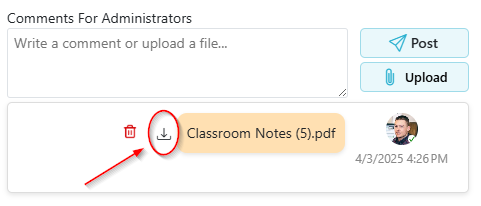
e. To remove an attachment, click the icon on the corresponding attachment. Users can only remove their own attachments
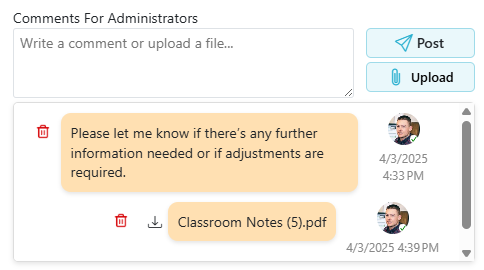
- Comments and Attachments can both be added/viewed together
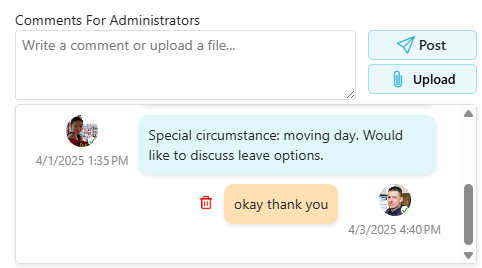
- Comments/Attachments from other users will be blue and on the left
If a Substitute is required, the Opening Information can be modified:
- If
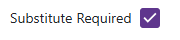 is checked, Opening Information becomes required
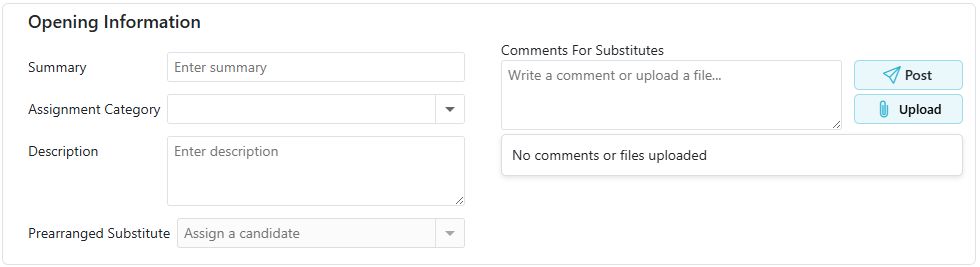
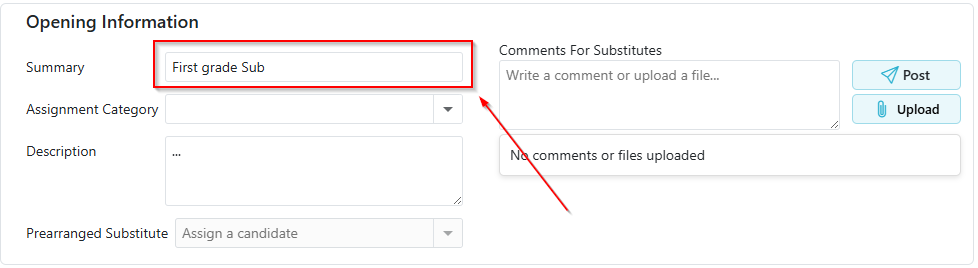
a. Provide an Opening Summary.
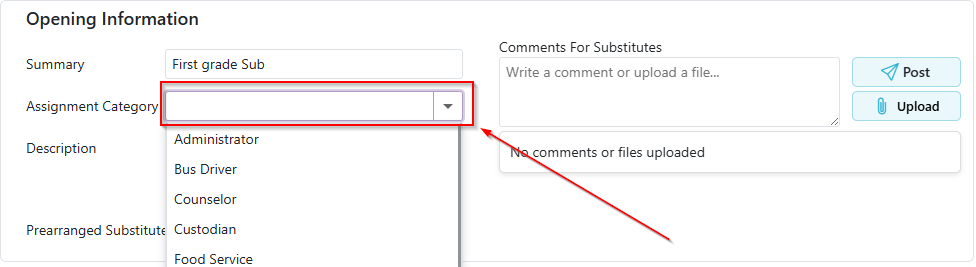
b. Select an Assignment Category from the dropdown menu.
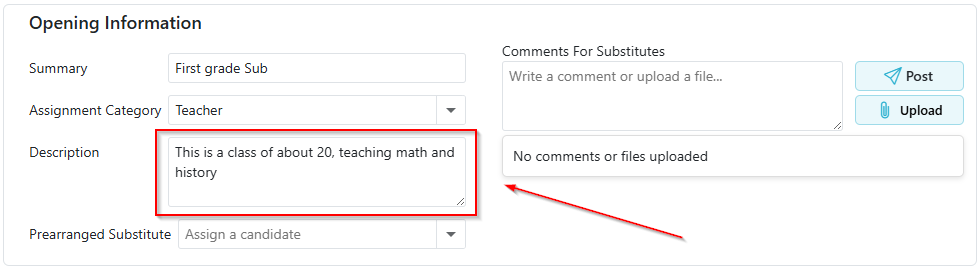
c. Enter an Opening Description.
d. (Optional) Choose a Prearranged Substitute.
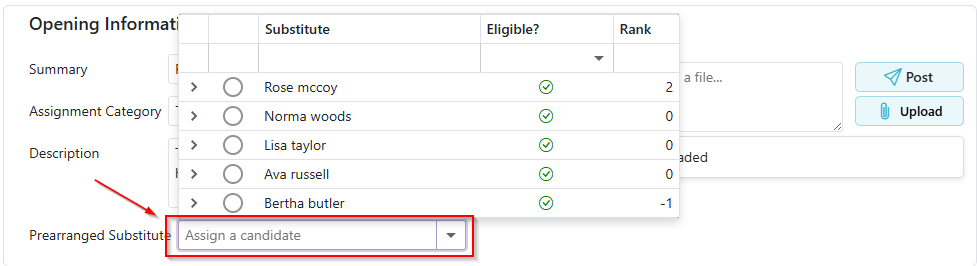
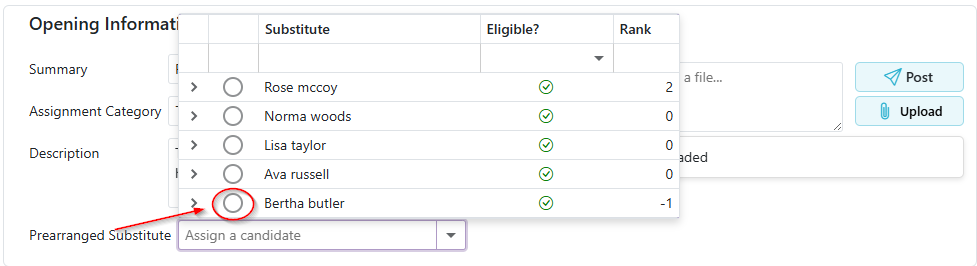
 - Click the
  to remove the substitute
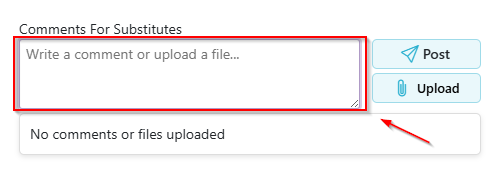
e. (Optional) Add any Comments or Attachments specific to the Opening (works the same as Step 7, except these are Comments for the Opening and will be visible by the substitutes).
Comments:
a. Type your comment in the input field.
b. Click button to submit the comment.
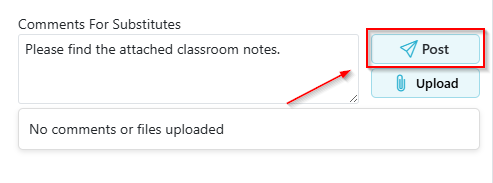
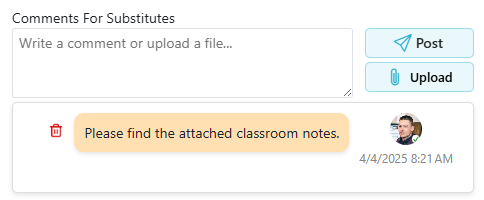
c. Repeat this process for adding multiple comments
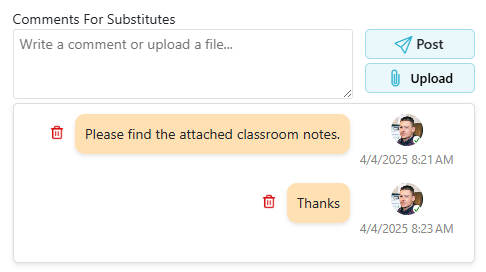
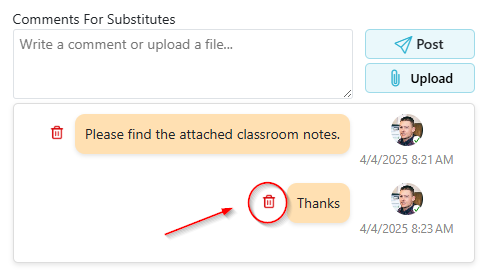
d. To remove a comment, click the icon on the corresponding comment. Users can only remove their own comments
Attachments:
a. Attachments can be uploaded by dragging and dropping the file into the input field
b. File can also be uploaded by clicking the button which opens up the file explorer
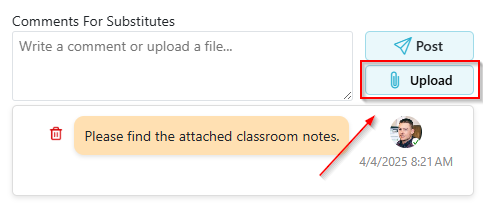
c. Repeat this process for adding multiple attachments
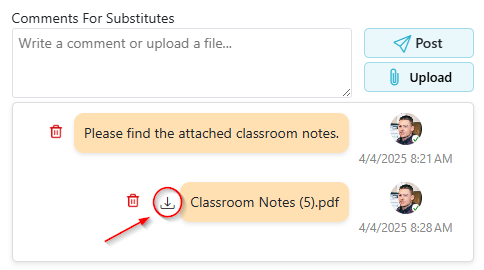
d. To download an attachment, click the icon on the corresponding attachment.
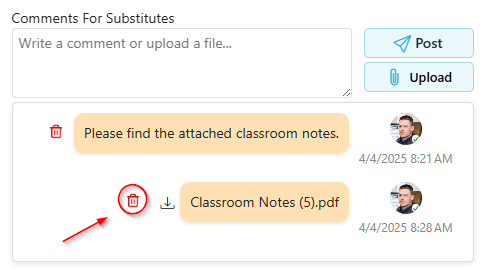
e. To remove an attachment, click the icon on the corresponding attachment. Users can only remove their own attachments
- Comments and Attachments can both be added/viewed together
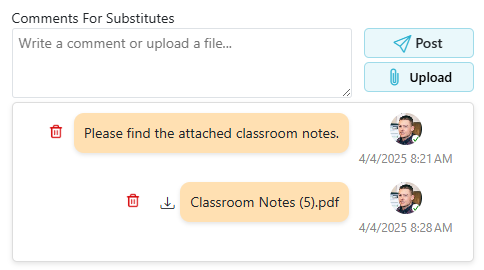
- Comments/Attachments from other users will be blue and on the left
Once all modifications are complete, click the 'Save' button to apply and save changes to the leave request
Once all details have been entered, click the Save button to create the leave request.